
Tags
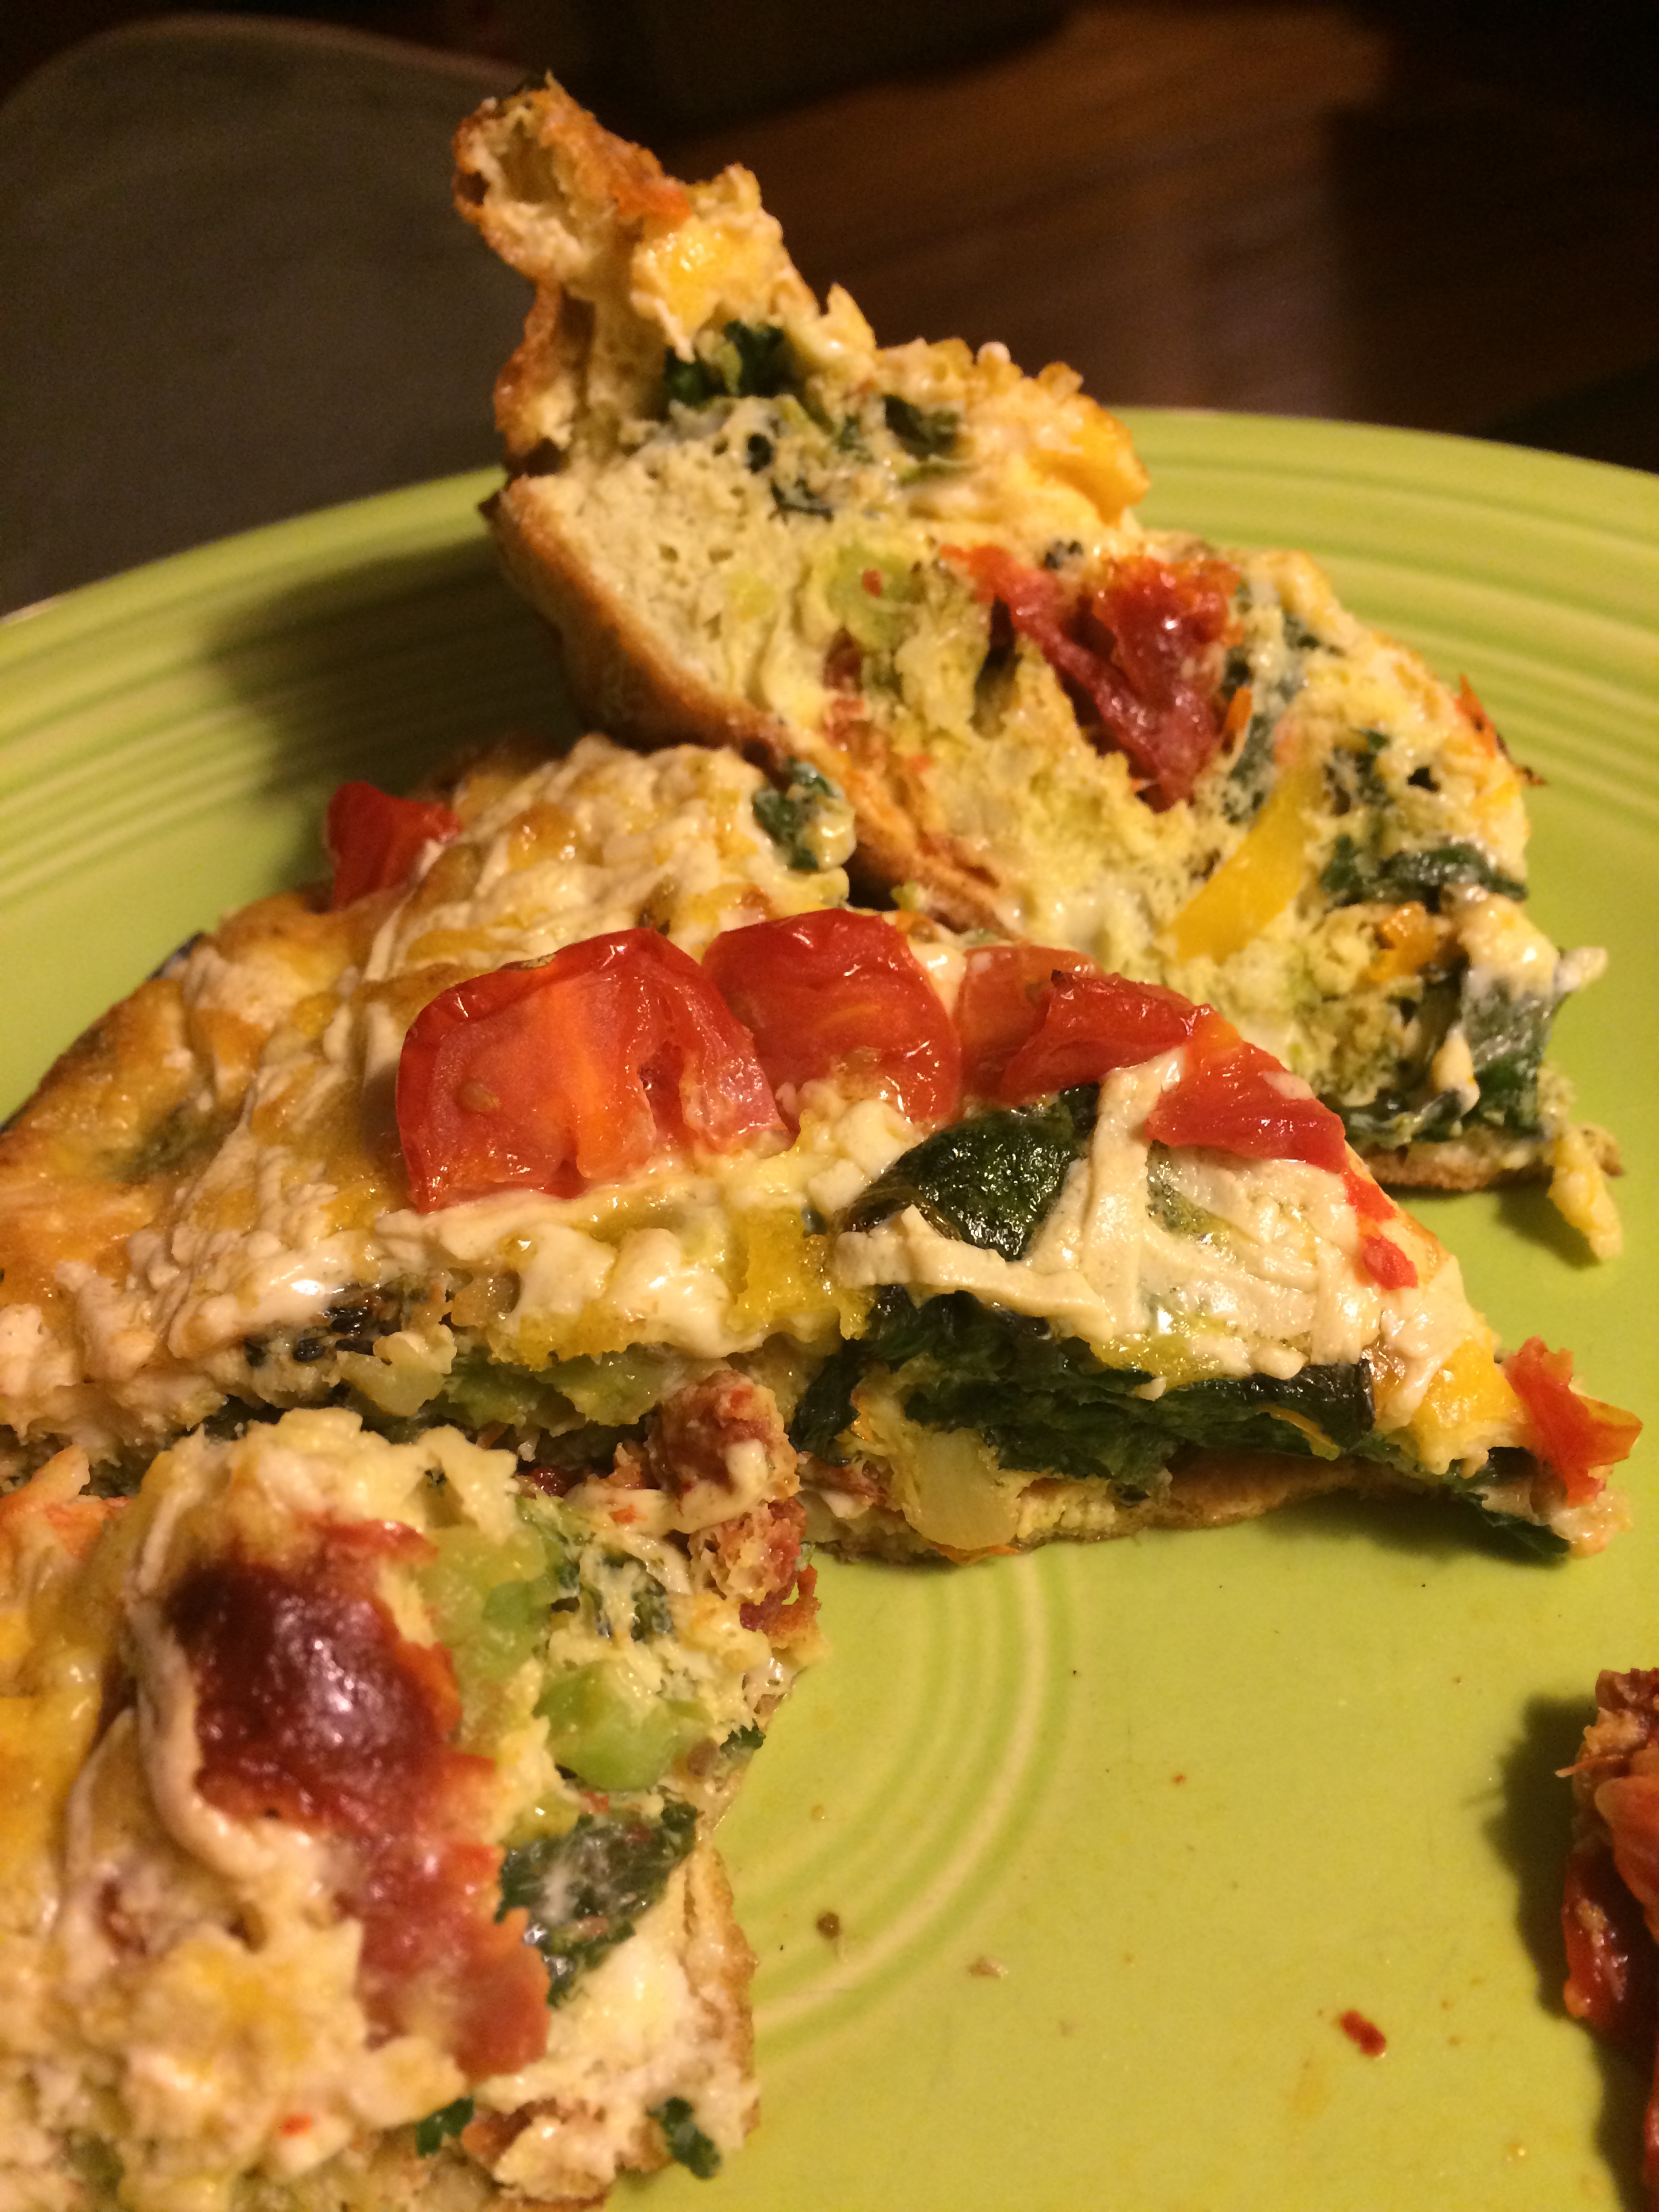
A frittata is quite possibly the most perfect, easy, gluten/grain free meal. Tons of veggies and protein …and who doesn’t love a one pot dish?! Throw in anything you want…this one has sweet peppers, broccoli, spinach, sundried tomatoes…and is topped with fresh tomatoes. You can add sausage, bacon, chicken, or any meat or veggie. For those that don’t know…a frittata is a crustless quiche. Every time I make one of these I go…”why don’t I make these more often?!” So easy and yummy!
NOTES:
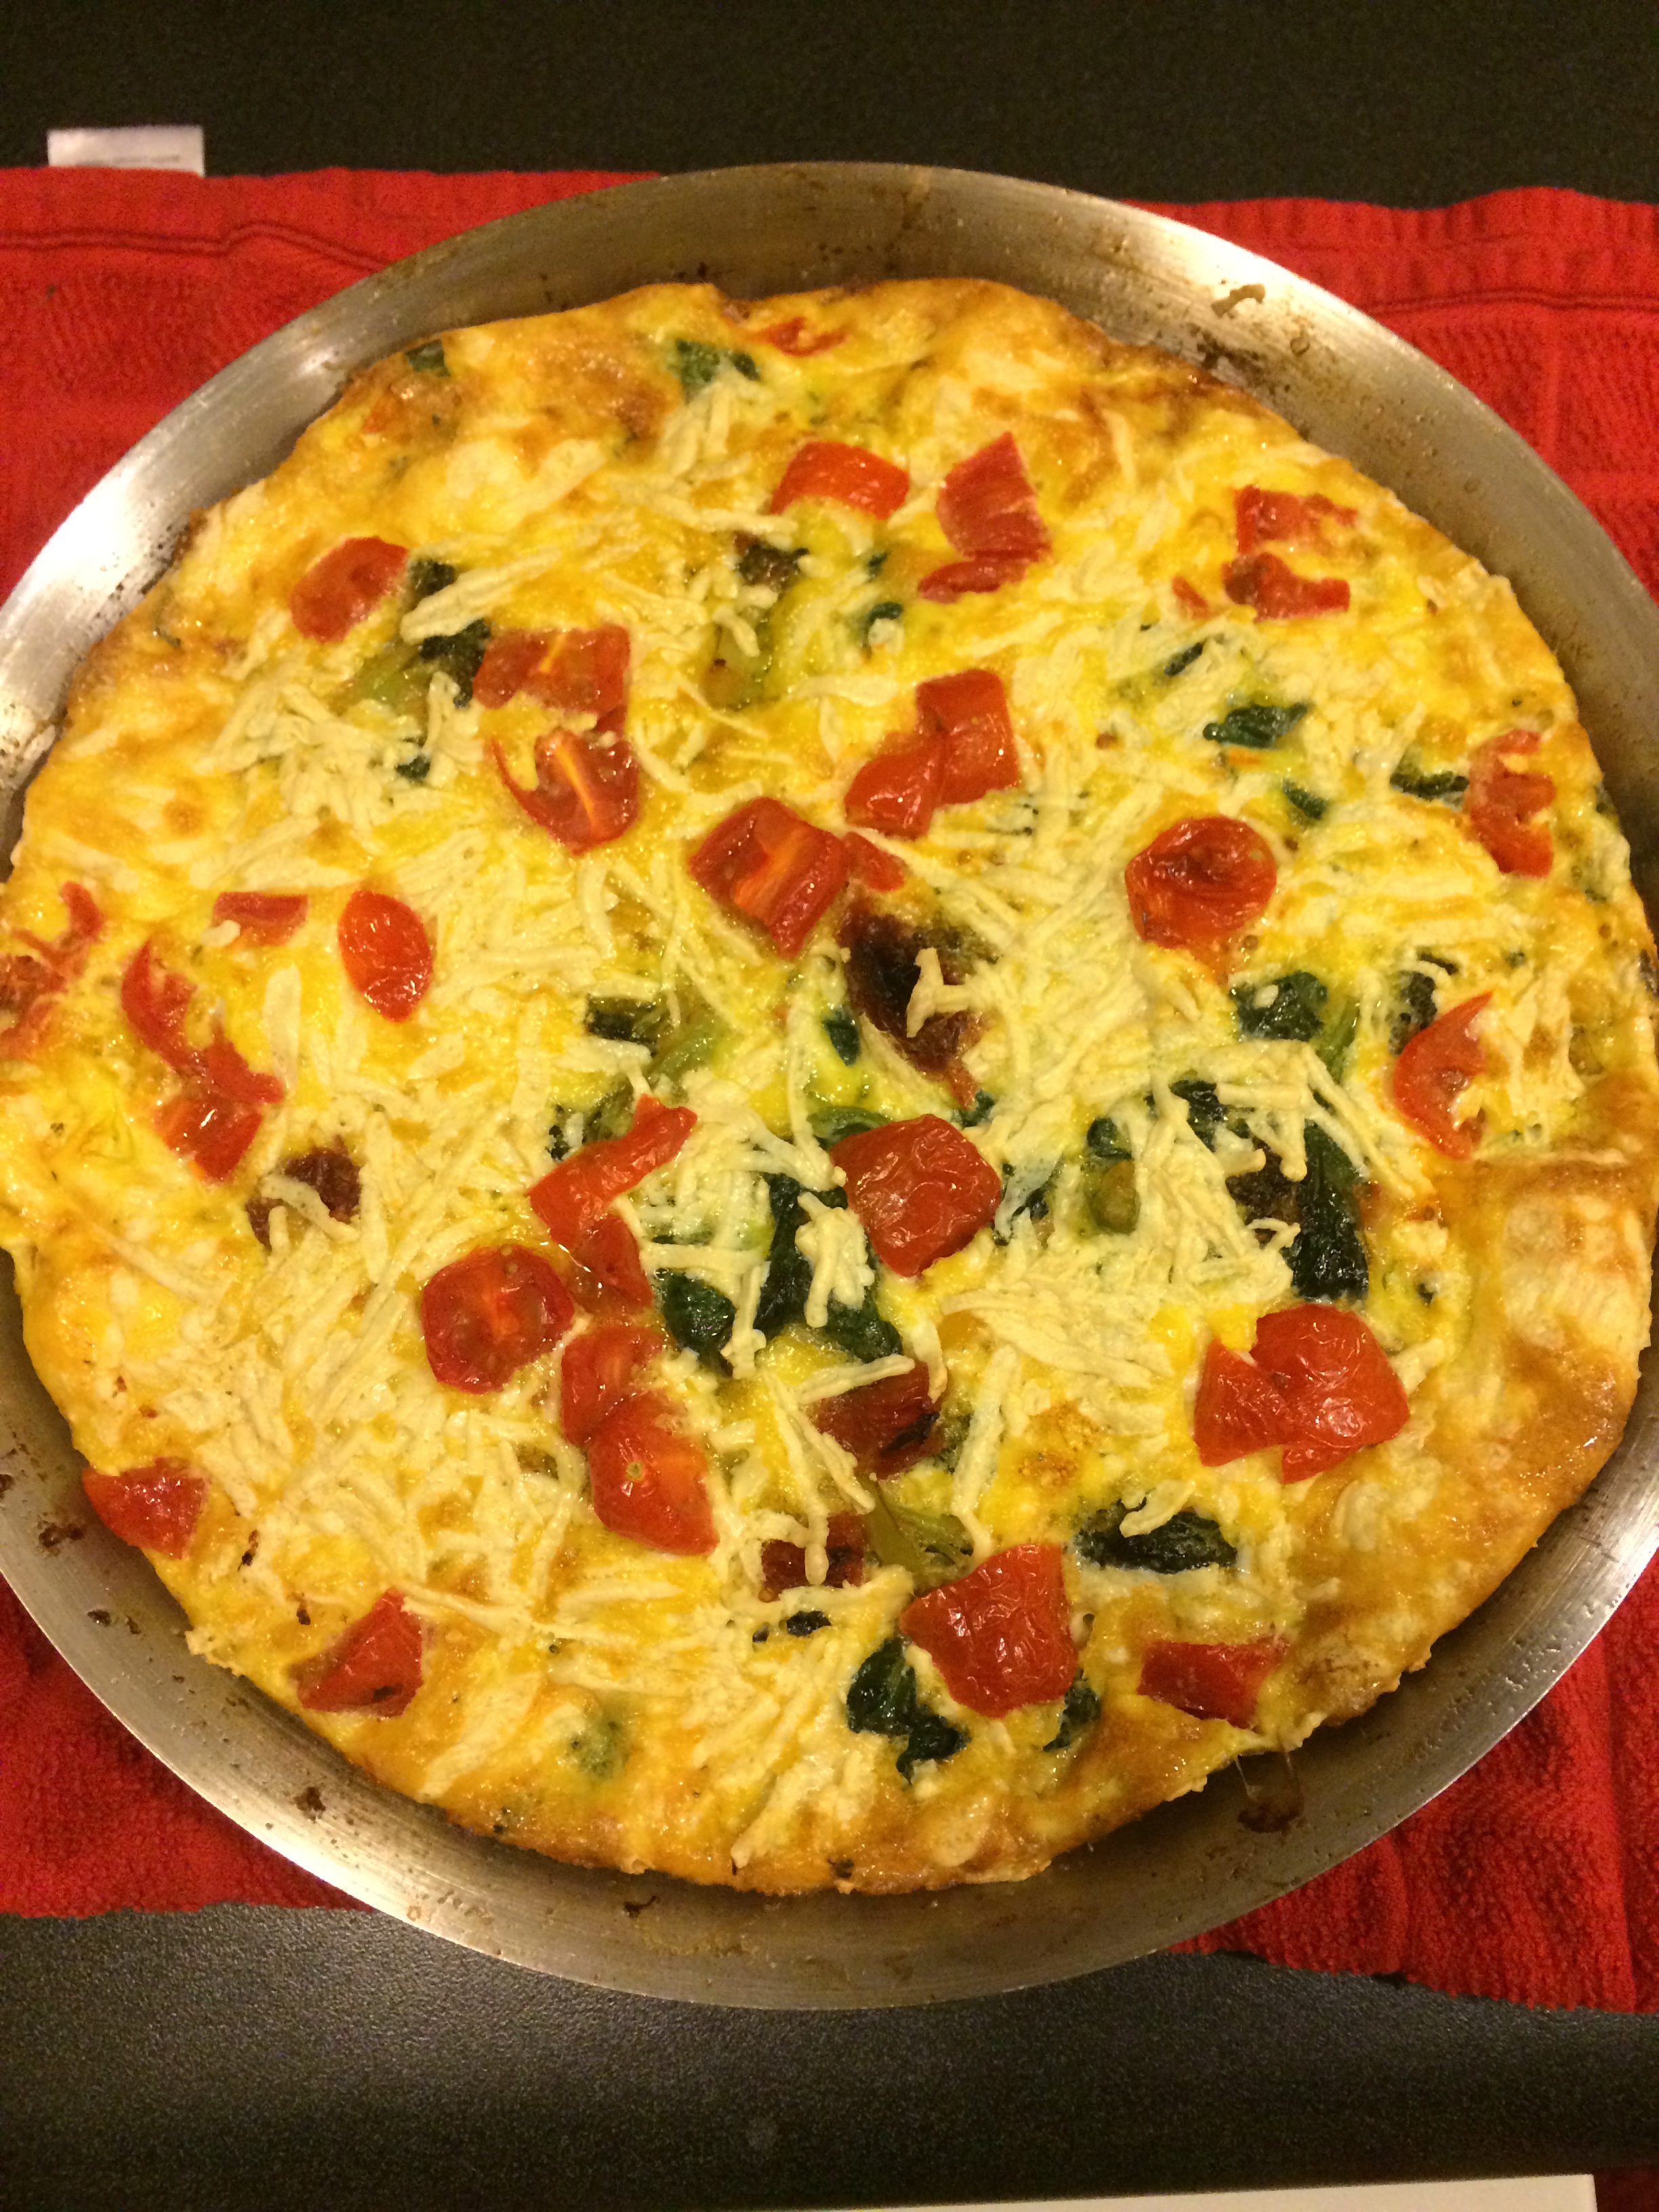
** I use a 10 inch saute pan for this. Remember that the larger your skillet is, the less cook time you’ll need (stove top and oven) because your frittata will be thinner. I like the 10 inch pan because you get nice thick slices in the end!
** Also make sure your skillet is OVEN safe!
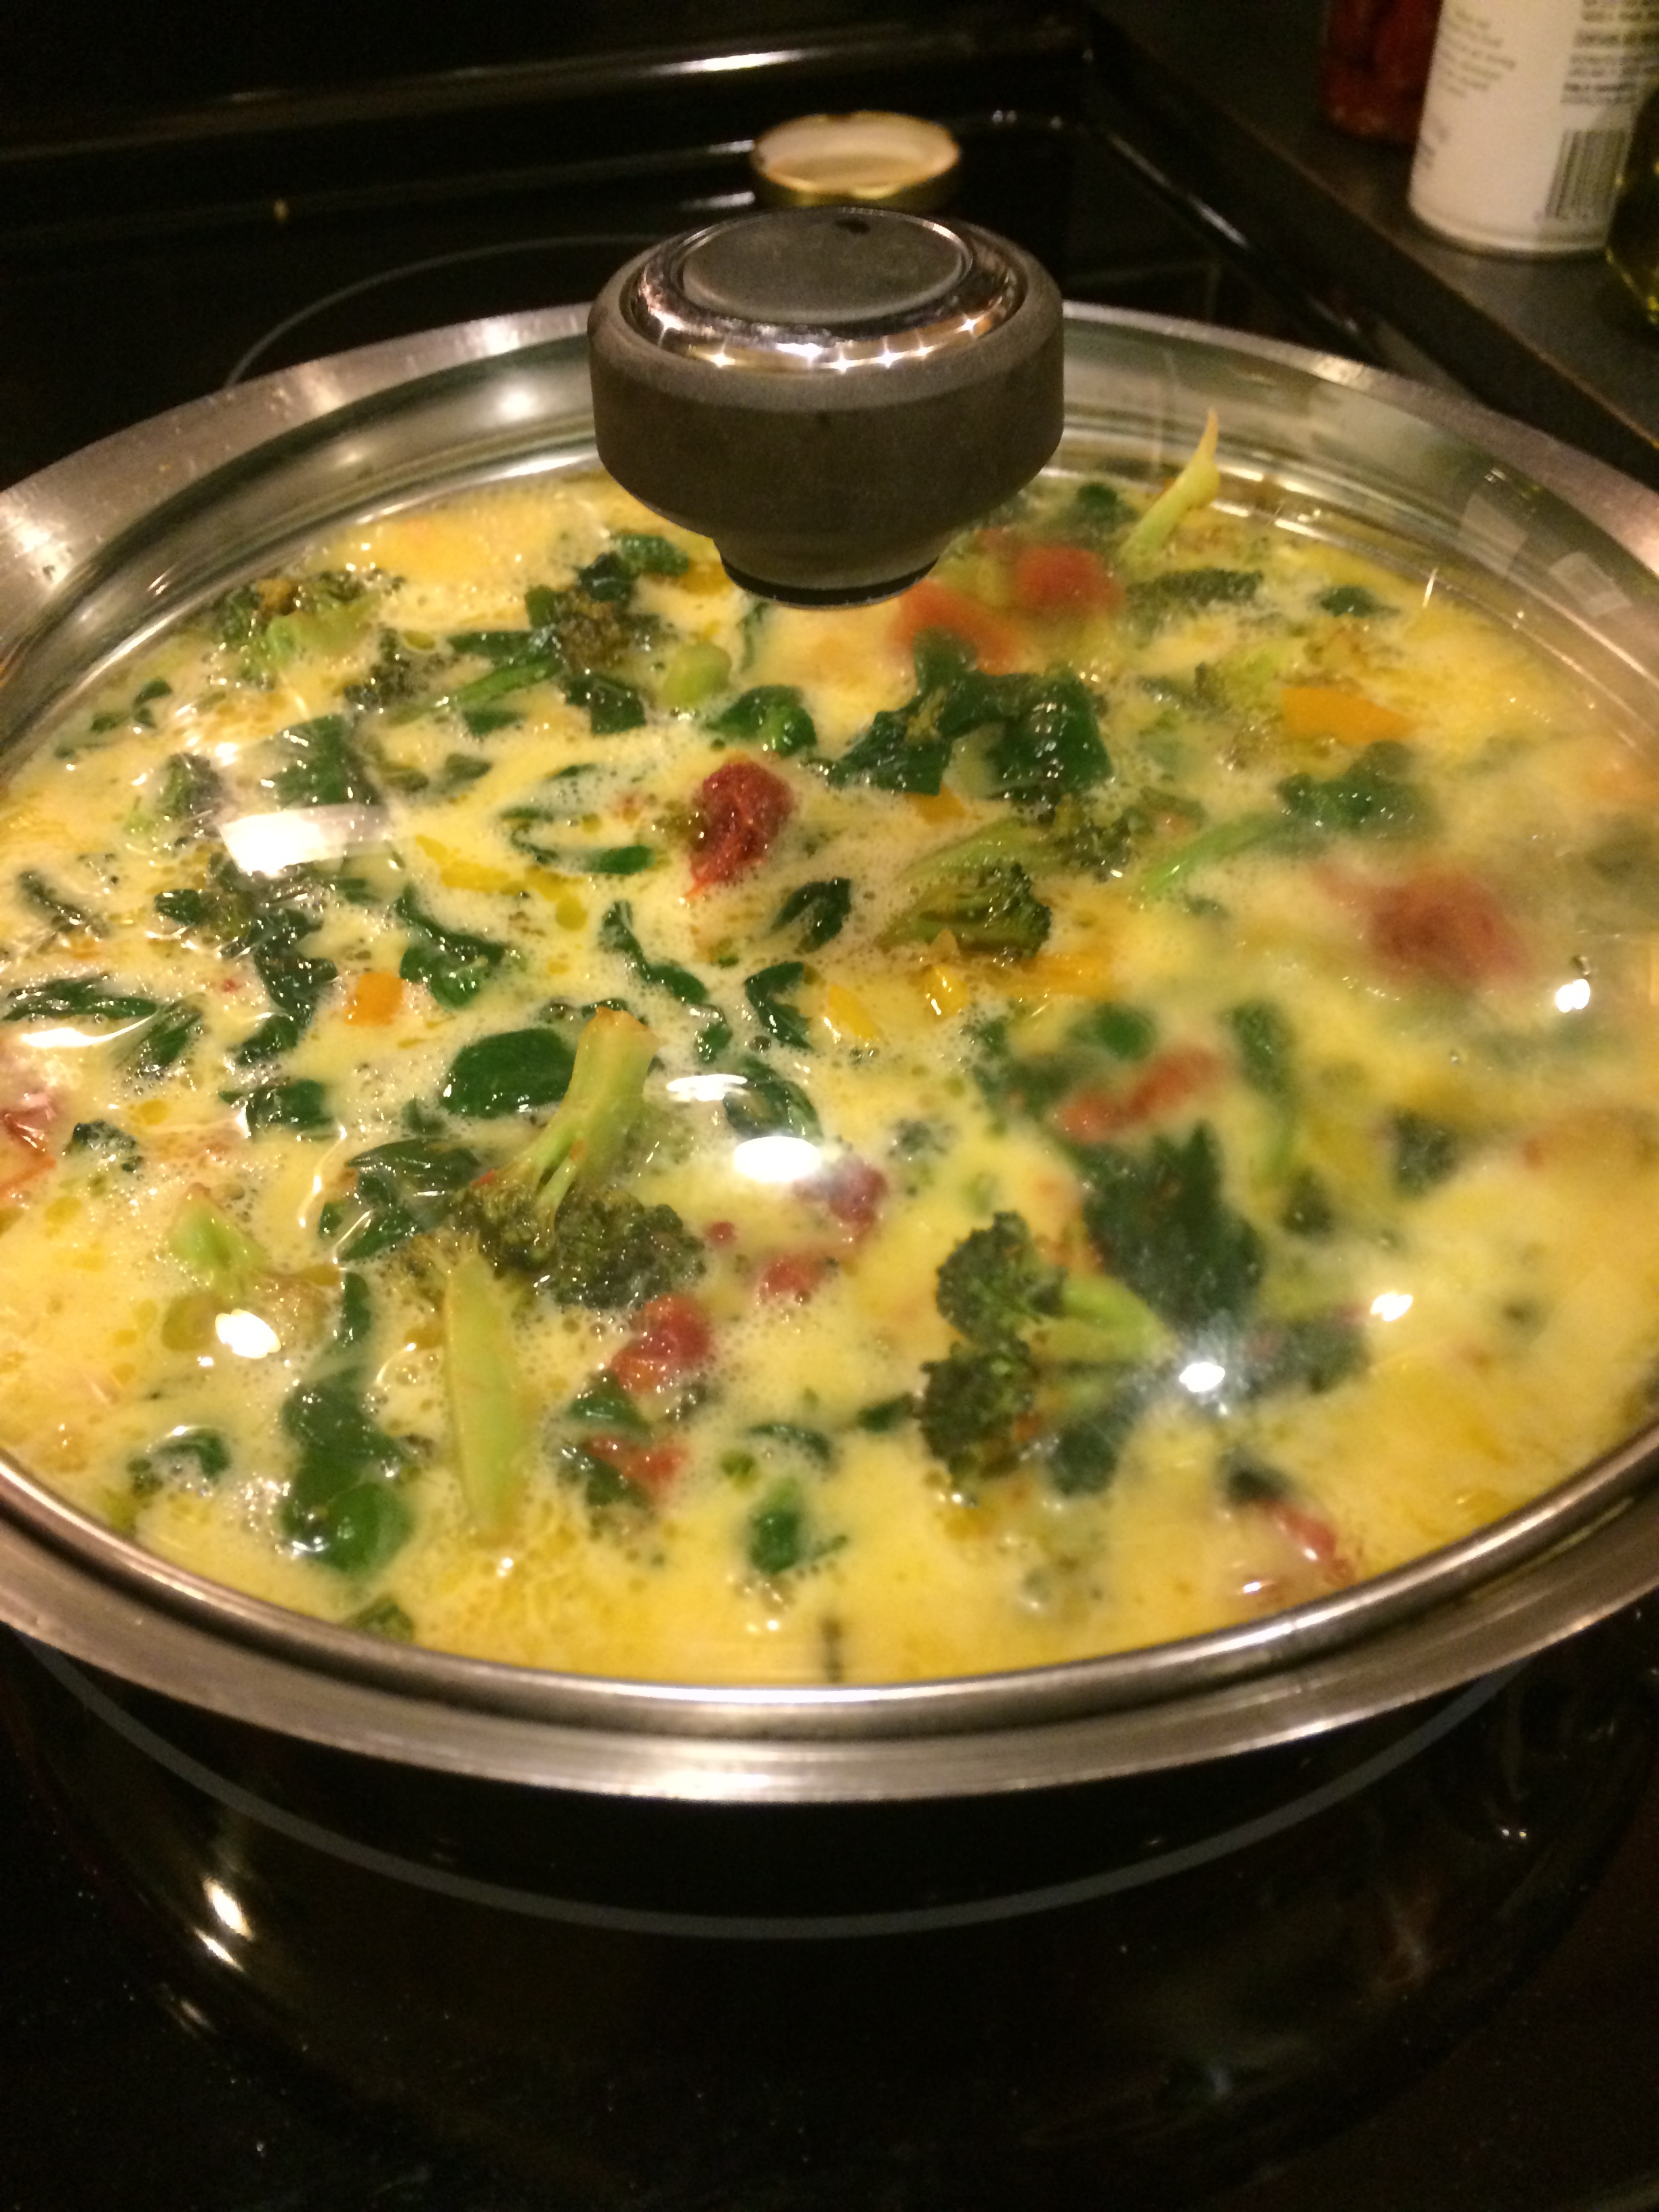
** You’ll need a lid that fits tightly on your saute pan.
** As always I use Daiya vegan cheese so this is dairy free – you can obviously use real cheese.
Excuse the crappy iPhone pics…

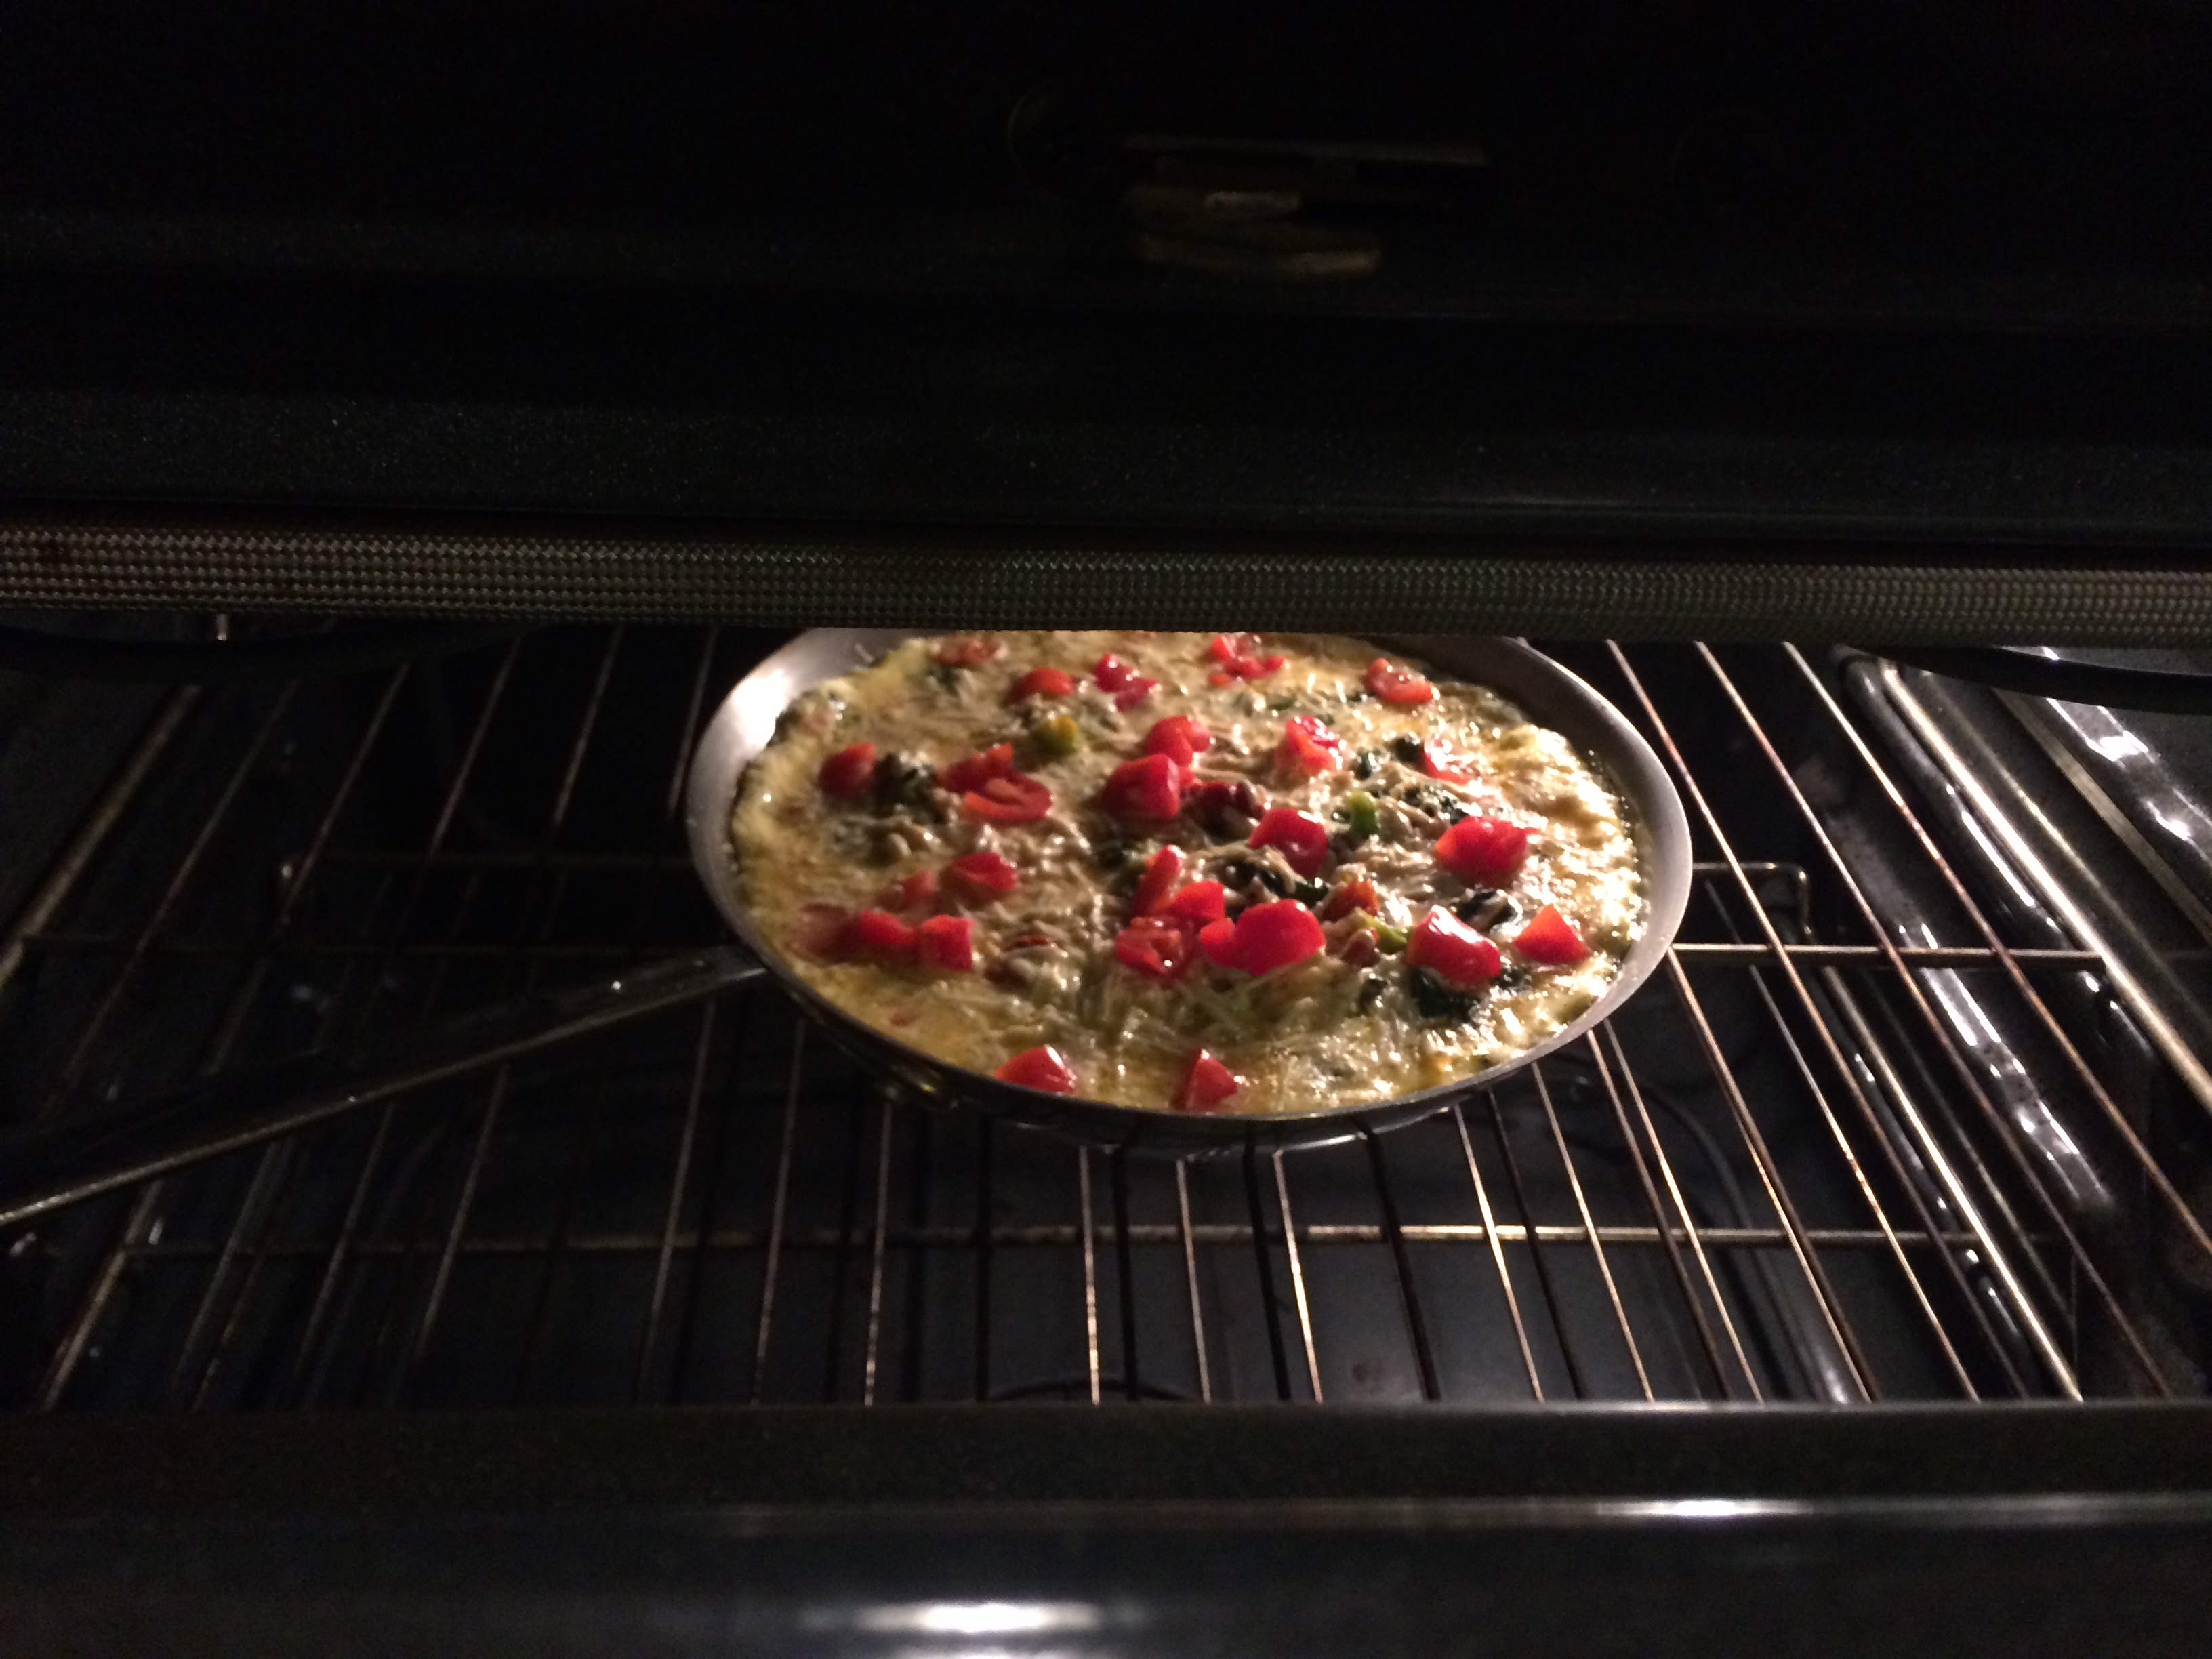


1. Pre-heat oven to 400 degrees.
2. Prepare 8-9 eggs by whisking well- using a combination of whole eggs and whites if you prefer – possibly add a dash of almond milk and sprinkle of cheese for extra creaminess.
3. If using meat go ahead and brown it and set aside.
4. Clean out skillet and then saute vegetables on about medium to medium high.
5. Remove veggies and add to browned meat that has been set aside.
6. Wipe out pan and spray liberally with olive oil cooking spray and drizzle a little olive oil in the bottom.
7. Pour in eggs.
8. After a couple of minutes slowly start to drop in veggies all around, as much as you want, til they are visible on top.
9. Cover and continue cooking on medium – medium+.
10. When about halfway set (you can press with a fork and feel some firmness starting to form – still slightly watery on top), top frittata with additional cheese/tomatoes and put skillet in the oven.
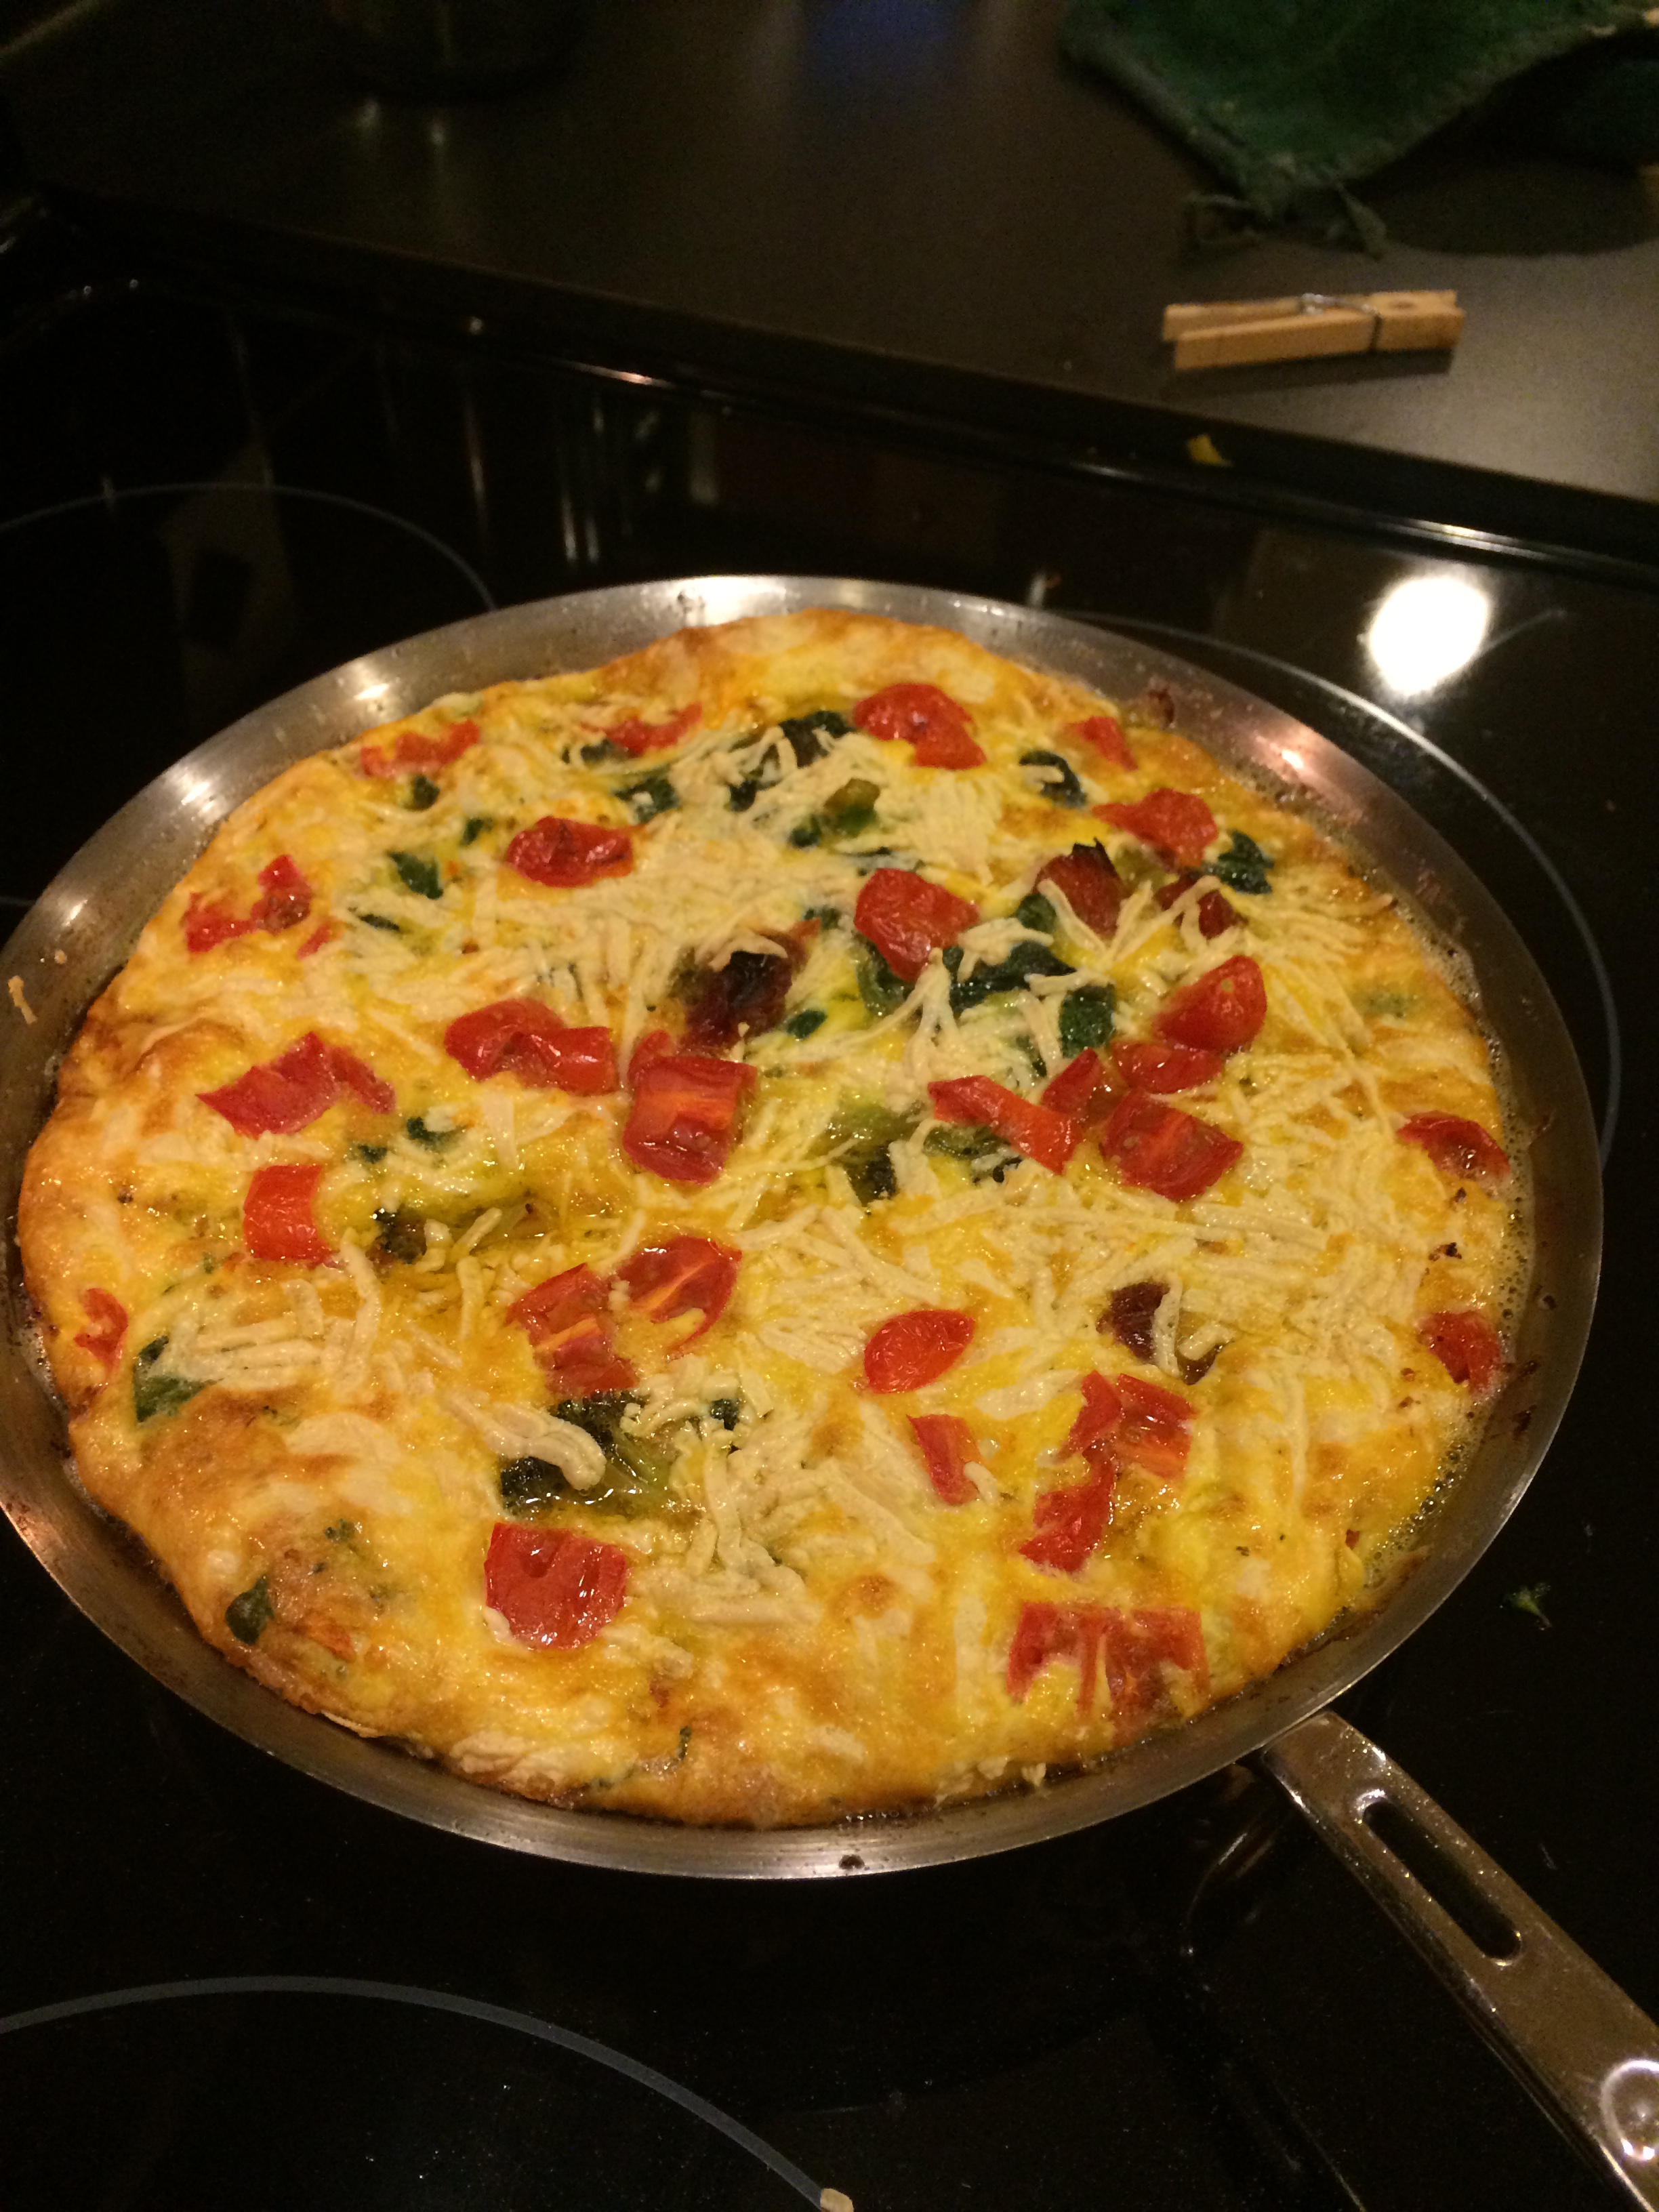
11. Bake 15-20 minutes or until puffy and golden. It needs to be puffed up in the center. It will puff around the edges first. Don’t take it out until it starts to rise in the center. Allow to cool for a few minutes then slice into wedges. It will be easier to cut and remove it you let it cool! This is important.
Enjoy!!!

This looks SO good. I’m gonna make mine all kinda cheesy!!!